Camper System
"Helpless and dull-witted" — the store page's own words. Campers are not your fighting force; they are your win condition. Getting them back to their beds is how you score, and how you stay sane.
Camper States
The Wandering Camper
The store page's official verdict: "helpless and dull-witted". They will not dodge danger on their own and drift toward the least sensible direction — the main source of escort pressure.
Value: Mid · Fragility: High
The Bedtime Camper
The objective unit: walking them back to their beds counts as "saved". The further from bed, the longer your escort chain and the bigger the exposure en route.
Value: High · Fragility: Mid
The Isolated Camper
Campers standing alone near the treeline or riverbank are the Axe Murderer's first pick. Isolated = top rescue priority; Dave's Rally should point at them first.
Value: High · Fragility: High
The Clustered Campers
A bunched-up camper group is paradoxically the safest state: one Rally drags the whole cluster, maximizing escort efficiency. Your first job every level: gather strays into a block.
Value: Low · Fragility: Low
Protection Priority Matrix
Allocate rescue resources by camper value × zone danger.
| Value \ Zone | Low-danger zone (inner ring) | High-danger zone (treeline / riverbank / perimeter) |
|---|---|---|
| High-value campers (far from bed / big count gap) | Standard escort Walk them home tile by tile along the counselor escort chain — never break your trap line for them. | Top priority Dave moves in to Rally immediately, even at the cost of this turn's Gather — with a big count gap, one high-value camper is worth three. |
| Regular campers (already inner-ring / covered by the chain) | Low priority No extra investment — they drift home with the escort chain naturally. | Tactical call Save them if convenient, but remember the loss quota is 10: while quota remains, give up two-front rescues decisively and keep the line intact first. |
Escort & Evacuation Routes
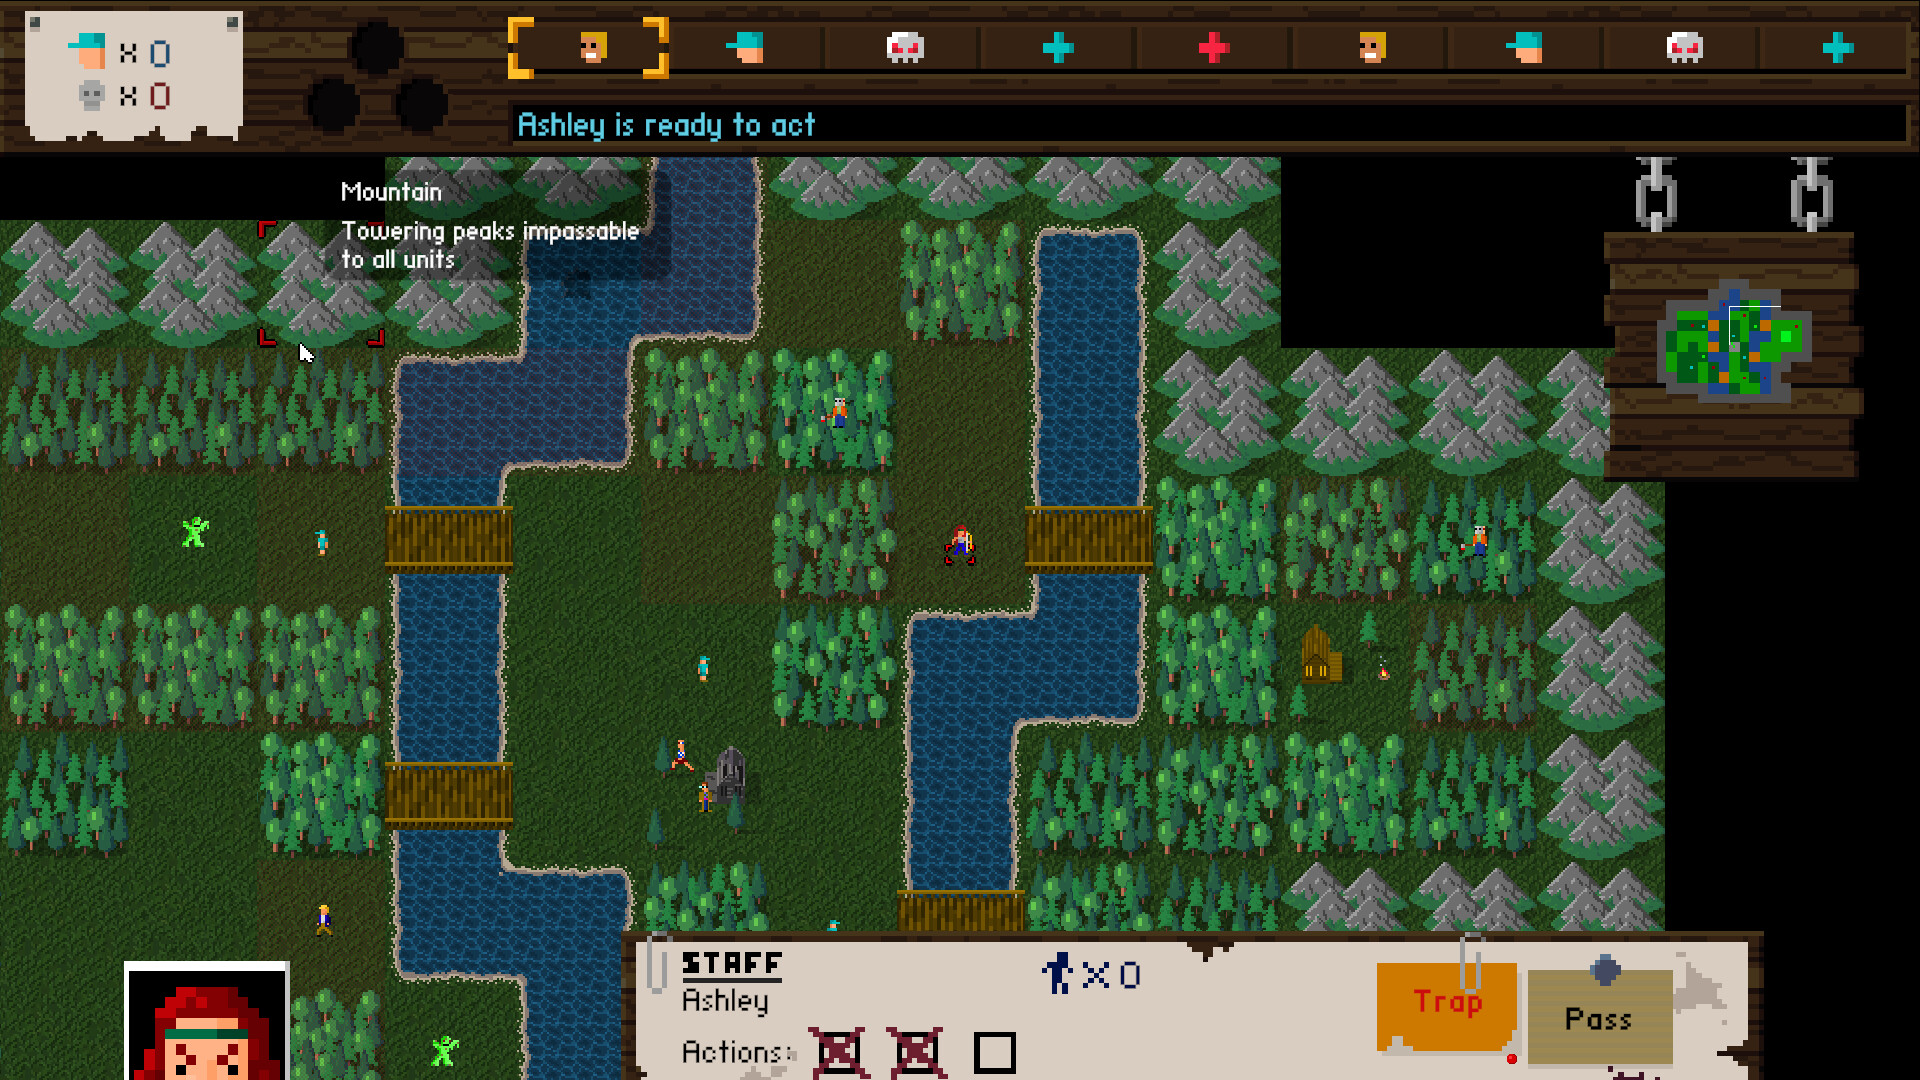
The Escort Chain (core play)
Risk: LowCounselors form a relay line between camp and the perimeter: Dave rallies → mid-chain hands off → inner ring tucks them in. Stable but manpower-hungry; best for low-monster opening levels.
The Bridge Corridor
Risk: MidExploit the hard rule that rivers are only crossable at bridges: collapse the escort route to one bridge side and seal the other with traps. Escort and defense share one corridor — maximum efficiency.
The Cabin Shelter Line
Risk: MidWalk campers who cannot reach their beds into the nearest cabin (also Wyatt's trap resupply point). One building, two jobs — the standard answer for mid-game levels.
The Cut-Loss Line
Risk: HighThe last resort when the loss quota (10) is about to break: abandon the farthest strays and collapse everyone onto escorting the main group. Brutal, but medals and clears outrank pride.
Sacrifice & Rescue Calls
Quota thinking
"Lose no more than 10" is not a fail state — it is a budget. Spend it like 10 resource points: abandon perimeter strays when needed, and spend the quota on keeping the escort chain orderly. That scores higher than heroic all-in rescues.
Rally vs Gather
Dave can do only one thing per turn. Rule of thumb: isolated camper on the field → Rally first; campers already clustered → Gather in peace. Hesitating and doing both halfway is the worst option.
The sunk cost of traps
Never uproot a laid trap line just because "the monster doesn't seem to be coming". Random movers always wander into the fan eventually — trap play demands patience, not micro.